The Ultimate Guide to Wood Restoration
Wood restoration is both an art and a science, enhancing the natural beauty of wood through careful repair and finishing techniques. Whether you’re dealing with cherished furniture, sturdy floors, or other wooden structures, the restoration process can be deeply rewarding. It’s about preserving history, improving appearance, and extending the life of wood products. The techniques vary, from simple cleaning to complex repairs, but the results are always spectacular when done correctly. In this article, we delve into the crucial steps of wood restoration and how to achieve the best results.
Preparing the Wood: Cleaning and Stripping Techniques
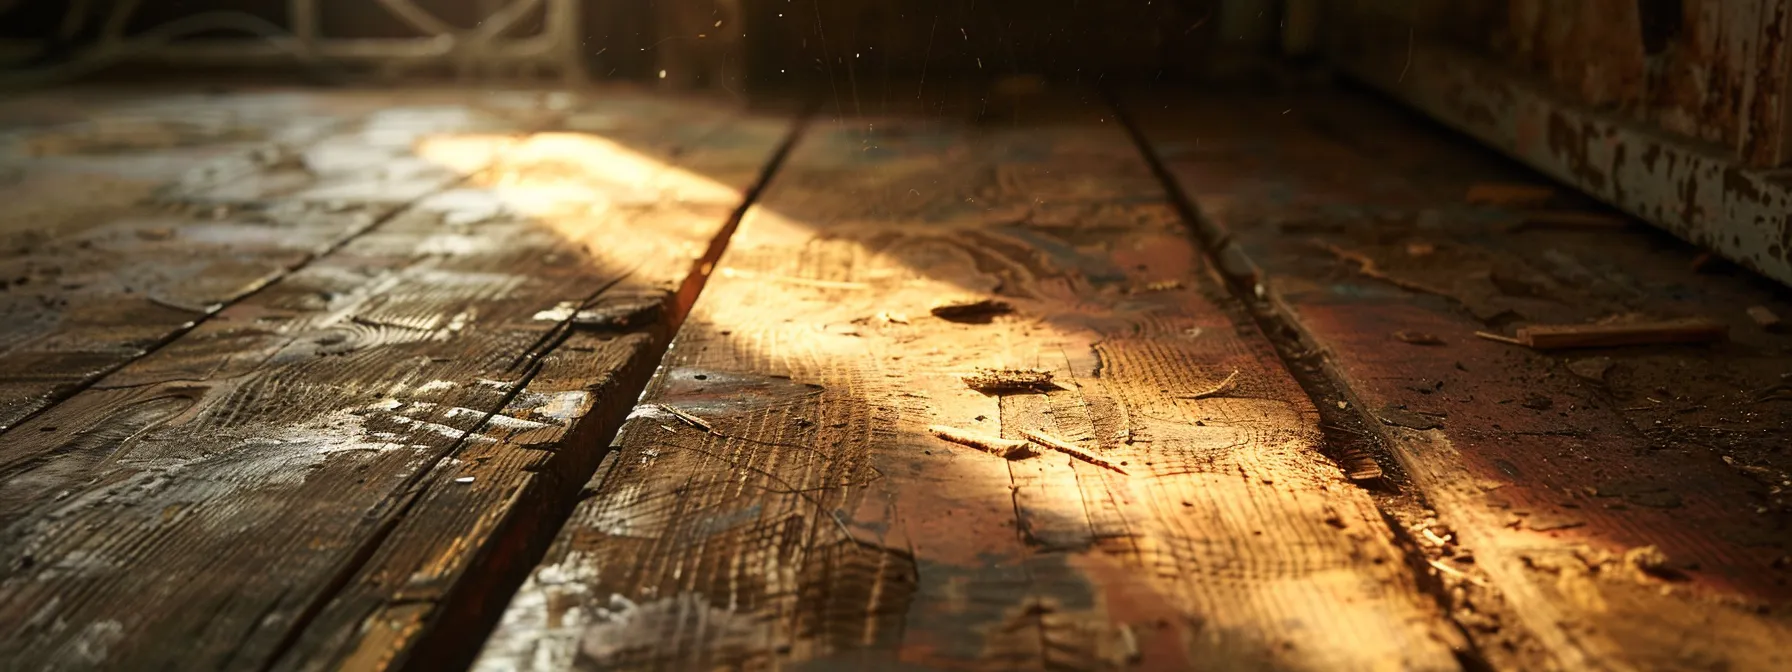
Preparing the wood for restoration is a meticulous process that sets the stage for all subsequent steps. Cleaning the wood removes layers of dirt and grime that have accumulated over the years. This should be done gently to prevent any damage to the wood’s surface. You may use specialized wood cleaners or concoct a mild soap solution to effectively lift dirt without harming the wood.
Stripping old finish is often necessary to get down to the original wood. This is done using chemical strippers, heat guns, or sanding, depending on the finish and wood type. Safety is paramount in this step, as chemicals and heat guns can be dangerous if not used correctly. Work in a well-ventilated area and wear appropriate personal protective equipment.
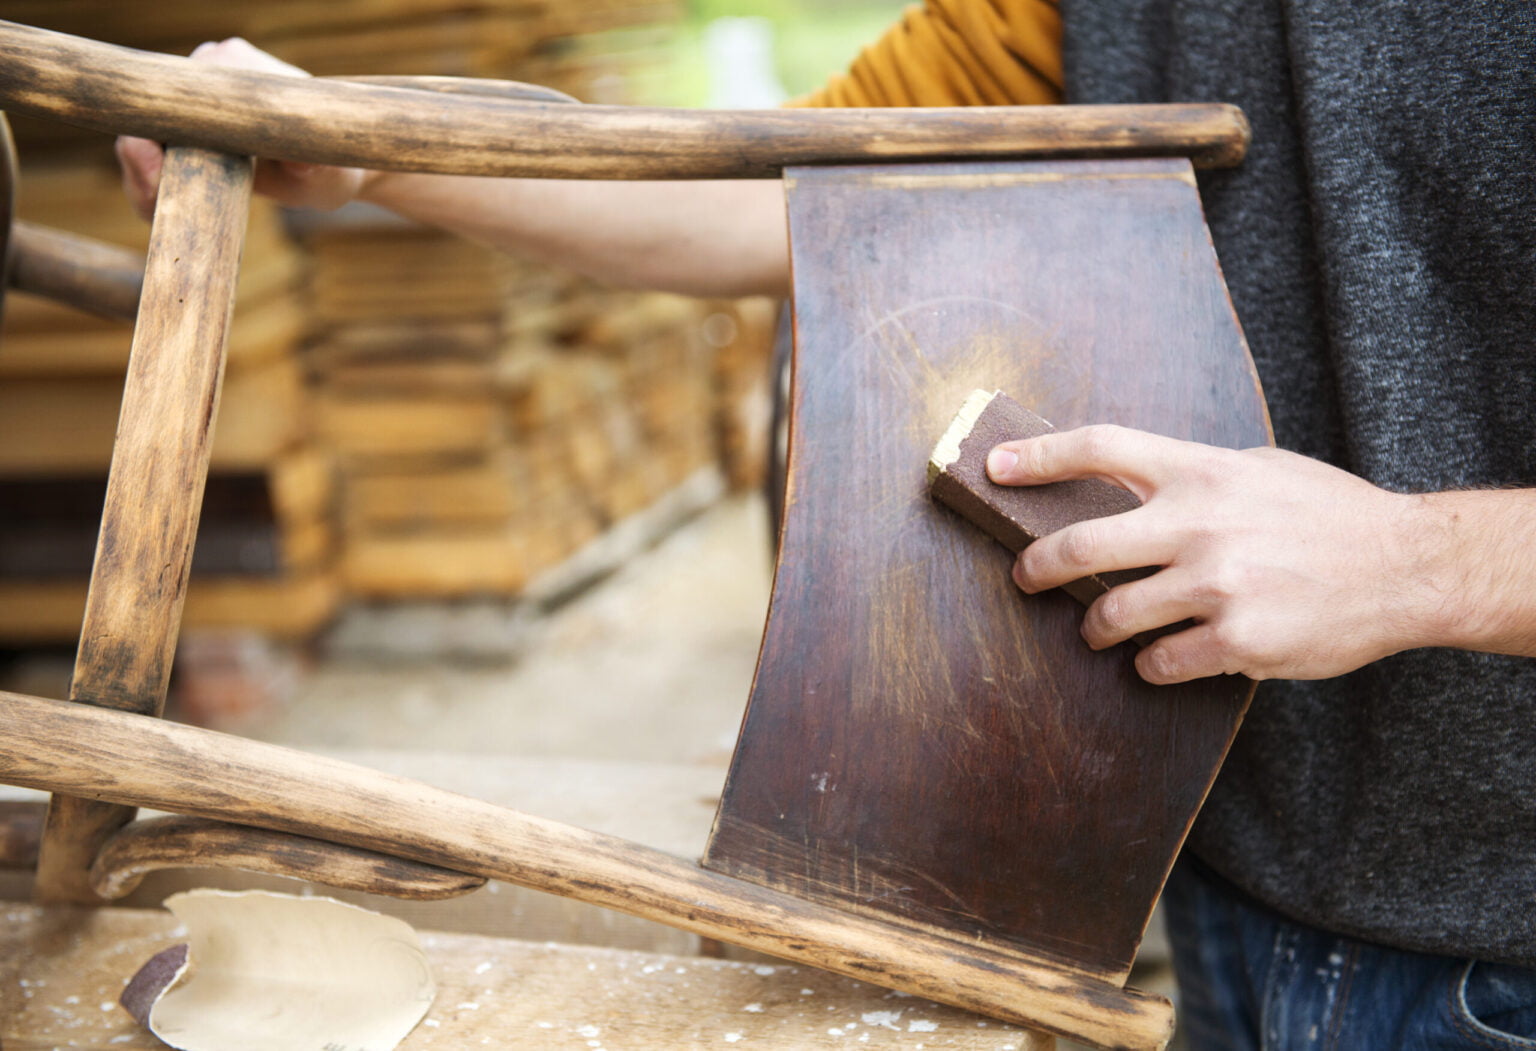
Once the wood is clean and the old finish is removed, it’s time to smooth the surface. Sanding must be done carefully and patiently to avoid creating further imperfections. It’s usually best to start with a coarse grit sandpaper and gradually move to a finer grit. This smoothens the wood and prepares it for new finishes or repairs that may be necessary.
Techniques for Staining and Finishing Restored Wood
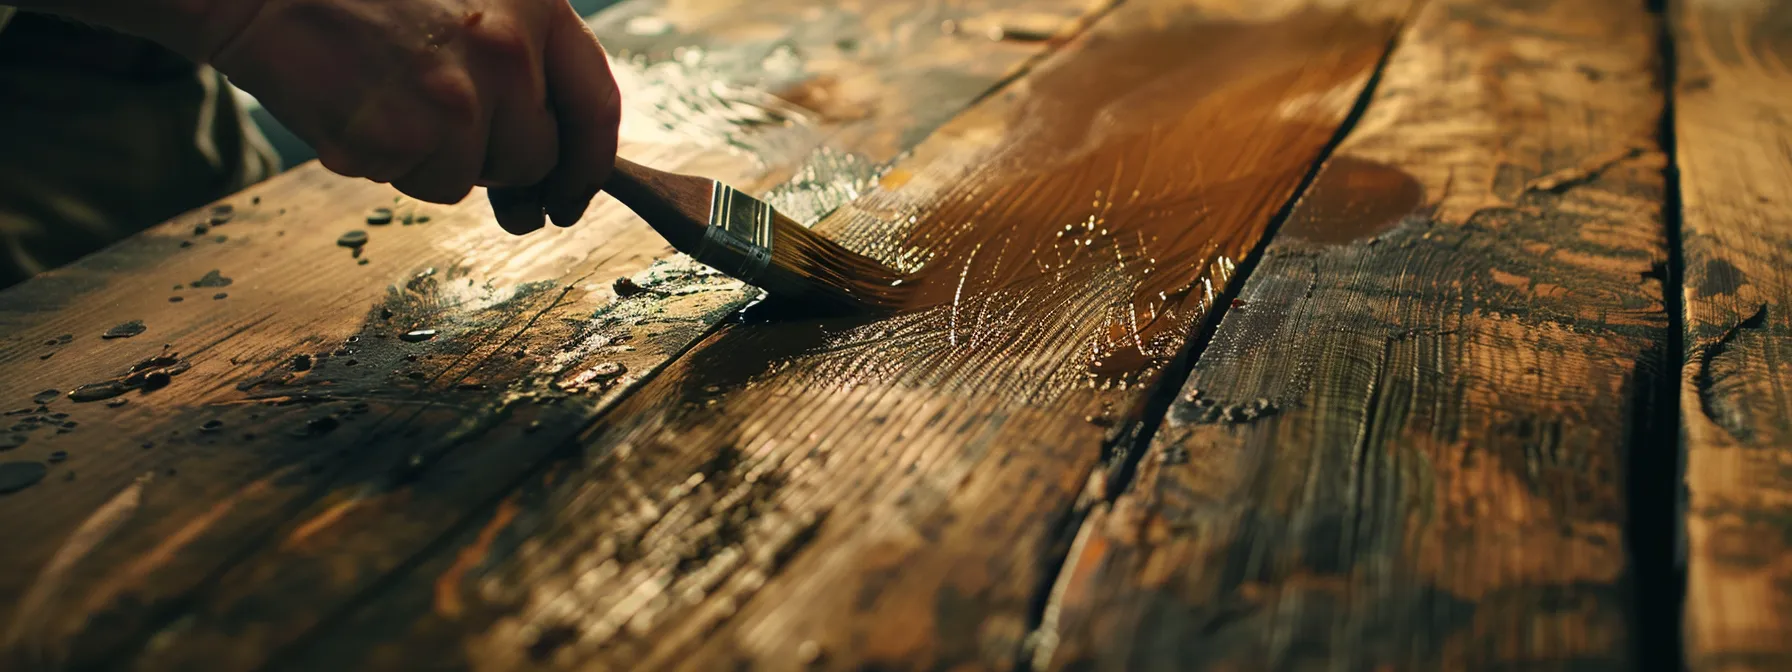
Once repairs are complete, it’s time to stain and finish the wood. Staining can emphasize or alter the natural color of the wood, and choosing the right shade is essential. Test the stain on a discrete area or a scrap of similar wood to ensure it achieves the desired effect.
Several techniques can be applied during the staining process. For a uniform application, a clean cloth or brush may be used, working the stain in the direction of the grain. Excess stain needs to be wiped away to avoid a mottled look. It’s also important to allow ample drying time between coats, following the manufacturer’s recommendations.
Finishing protects the wood and gives it a polished appearance. The options include shellac, polyurethane, varnish, or oil finishes, each with its benefits and application techniques. Consider the end use of the item when choosing a finish—a tabletop, for example, requires a more durable finish than a decorative shelf.
Repairing Damage: Patching, Sanding, and Filling Strategies
The true challenge in wood restoration lies in repairing the damage that the piece has sustained over the years. Patching, sanding, and filling are techniques that can restore the wood to its former glory. For minor scratches and dings, a simple wood filler can level the surface. For larger areas of damage, it may be necessary to remove and replace entire sections of the wood.
Sanding plays a critical role in ensuring the repairs blend seamlessly with the existing wood. After filling in the damages, sanding with fine-grit sandpaper helps to create a smooth, unblemished surface. Pay extra attention to matching wood grains and patterns—this is key to a professional-looking finish.
There’s also the option to utilize wood putty for minor repairs or epoxy for larger, structural issues. Knowing which material to use is the difference between a temporary fix and a long-lasting repair. The goal is to maintain the strength and stability of the wood while also restoring its visual appeal. You can find the best materials to repair wood damage at Woodrich Brand.
Maintaining Restored Wood: Tips for Longevity and Care
After a successful restoration, maintenance is key to keep wood looking its best. Regular cleaning with a soft, damp cloth can prevent dust and dirt from building up. Avoid harsh chemicals or abrasive cleaners that can strip away finishes and damage the wood’s surface.
For those high-use areas, periodic touch-ups may be necessary. Quick attention to spills, dings, or scratches can prevent more extensive damage over time. Consider the application of additional protective layers or polish to boost the wood’s defense against wear and tear.
Overall, the precise steps involved in restoring wood can breathe new life into old pieces, transforming them into dazzling works of art and craftsmanship. With patience, attention to detail, and the right techniques, wood restoration offers both practical and aesthetic rewards. Through proper care and maintenance, restored wood can retain its restored charm and functionality for many years to come.